In step 1 I'll explain something that's good to know about Pen Tool and the White Arrow (That I like to call it). If you know about these from before, go to step 2.
Step 1) Pen Tool is amazing if you first get to know it. I will now explain how it works. If you click once and releases, a point appears. Then, if you click somewhere else, a line from the first point is drawn to the next. Amazing, isn't it? :D Now, for the next level, if you click and hold, you can drag it and make the perfect line into an... arch. Try to make your drawing look like a feather, not detailed, as simple as possible. My feather ended up looking like this:
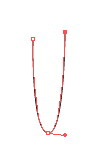 Color it and make a line in the middle if you want to. If your feather wasn't perfect or you didn't like it, don't delete it, instead try using the white arrow. Yes, the white arrow. Not the black, but.... the white! If you don't know where it is, look in the tool box, and it's next to the black arrow:
With the white arrow, you can adjust everything. If something is grouped the white arrow will only select 1 item, even if it's a group of 100 items. It can also adjust the arch of a drawing, change shapes and delete a point from a drawing.
 |
| Here have I used Eraser Tool to draw a line. |
 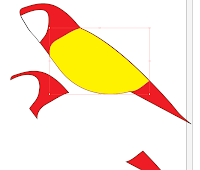 |
| Just place it on top of the first form. |
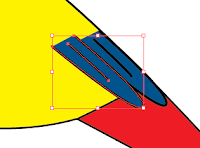 I think this is an easy way to make for example wings that fits with the original form, if you get what I mean... If not, look at the pictures. NOW, the feathers. How to start? I recommend that you start on the bottom and work upwards, then the upper feathers will overlay the others. As you can see in the picture I've already started to place the feathers. Hold down Alt and drag a new feather, instead of copying every single feather, and then paste them; followed by placing every feather. Lot of work. Keep copying using Alt, and you can also reflect them to create variation. To reflect something, right click - transform - reflect. Working with so many objects can be frustrating. To get control on your artboard or workplace, go to Window in the menu. Choose Layers. This wonderful window pops up, and there will probably be many, many, many items there. You can separate them with throwing some into other layers, or group them. Mark all the feathers of the same color, and group them using: cmd + g, ctrl + g, go to Object in the menu or simply right click. As you see it's many ways.
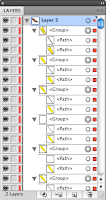 |
| It's better to group items so you don't have to search through all. |
I started with the blue feathers. When I've come to the end of the wing, i start placing yellow feathers over the blue. Don't focus on getting them perfectly on to each other, you can make some space. It may look like this:
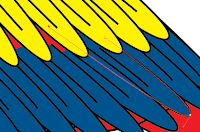 If you use the white arrow, you can make the feathers longer so the colors fill all the missing parts.
Step 3) Strokes are important when it comes to drawings. If the stroke is the same size, it may look boring. IF the size vary, and the strokes are different it can make the drawing look better. Heres an example:
On the strokes in the face, I use an other type of stroke than I did on the rest of the parrot.
Enough of this babbling, here is 1 out of 3 parrots that I made in our task to make a Book cover:
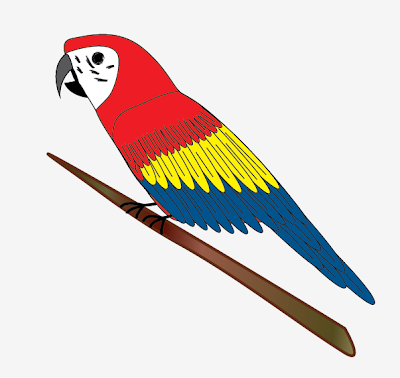 |
| PS: See if you can find the image that was the inspiration to this one, you can find it on Google if you search for Ara in pictures. *Hint* it is a parrot that sits in a tree, just like this one. |
Have a nice day!
Published 21:07


Ingen kommentarer:
Legg inn en kommentar